Week 3 - PBR & Texturing
- im260636

- Jan 10, 2023
- 3 min read
I began this stage by deciding how I wanted to approach texturing. In my scene I had a lot of assets to texture and a few were incredibly detailed and specific, so would have to be sculpted in Zbrush and then brought into substance. I decided that a trimsheet would not be suitable, as I didn't have any intricate carvings or repeated patterns. So instead I approached the scene intending to manually paint everything in substance painter. I started by creating the water pool. The water in most of the reference images was a dark brown, still flat reflective surface with what looks like duckweed surrounding the water edges. I considered creating an animated water surface, however this duckweed in the design made this difficult, and since the water in the room would be sitting still, it wouldn't follow the reference accurately. I added a reflective surface, used a darker watercolour brush to create interest in the colour map, I used a height map brush to create some interest to look like ripples. And a matte green particle colour brush for the duckweed.

I then worked on the cobblestone floor, I tried to get the colours as accurate to the reference, I used a masked fill layer to edit the height and then I added a mask with a height combination to only let the dirt underneath show between the cobblestones. I then added some wear for extra interest and took it into unreal.

After changing some settings in unreal the texture became smoother and less pixelated. I added basic colours to all my assets in my scene, so I could see how the lights and colours would come together.


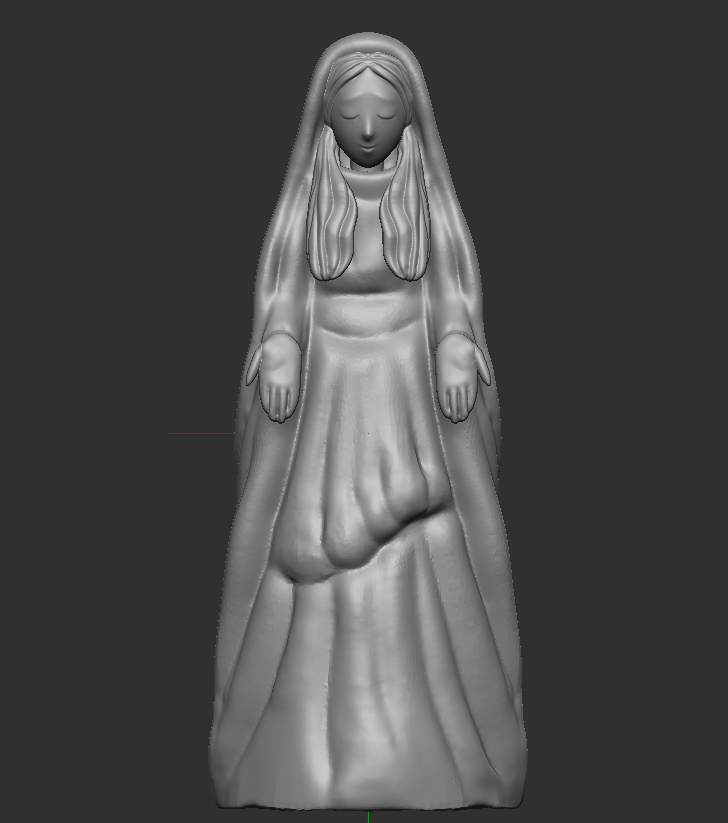
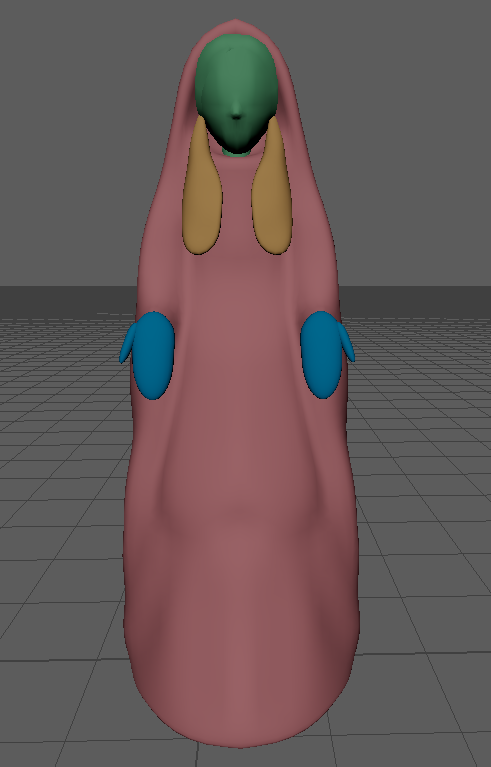
Next I wanted to approach the large statues in the room. At first, I had hoped to take the low detail versions in the scene above and sculpt into them, but after realising how inaccurate the shapes were, I decided it would be easier to make the high poly in Zbrush, and use Zremesh to make the low poly after. I decided to use quad draw for the face and hair, so I could get it exactly as I wanted it.
I wanted a stylised, semi-cartoonish face to replicate the original. Even though the texture should have worked with a single colour map, the bake didn't seem to work accurately without the textures being separated.


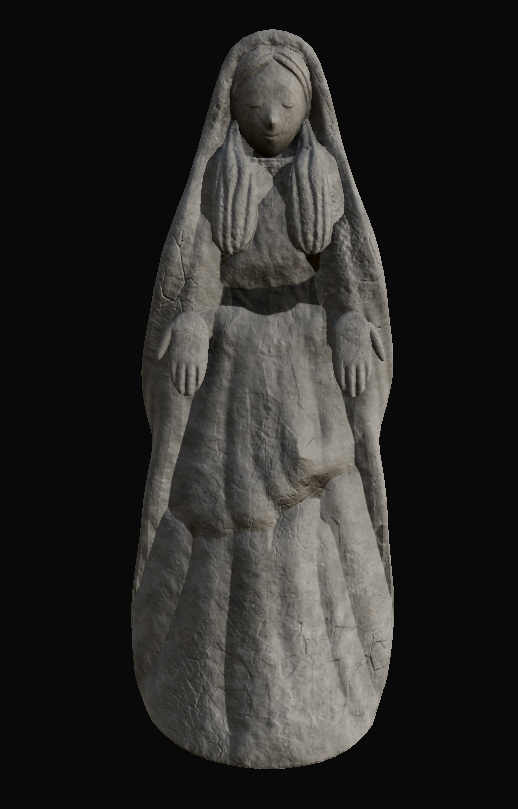
After putting her into substance, she had a few issues, such as the seam through her head and the issues with the bake. After fixing the issues in photoshop, I hand painted some extra detail to make her feel more 3D, to fit with the reference further and look nicer.


After adding her into unreal, the model became incredibly shiny, but after editing the roughness in substance, I was content with her.

Lastly I added a new texture to the walls. After examining the reference and movie context, I determined the walls were made of dirt, and that the center tree, wasn't a tree at all, but the roots of the tree that lies on top of the clochan. The walls also have vein-like roots that seem to be holding the walls together. But the way the texture has been drawn almost looks like thatch and mud. Since the drawing was incredibly stylised, I created a texture for the walls imitating the drawing. I used the rococo swirls brush with a height mask on top of a number of textures and a vein-like colour brush to create the illusion of the roots. I wasn't hugely pleased with it, but left it for the time-being as a placeholder.

Comments