Week ∞ - Finishing texturing assets
- im260636
- Jan 11, 2023
- 4 min read
At this point I finally fixed the texture for the walls/ceiling so that it looked more realistic, like tightly packed soil held together with roots.

This helped make the colour scheme more closely resemble the reference. As well as this, I added the small bits of twigs and roots that were sticking out of the walls, further pushing the homely badger burrow feeling of the room. I added some labels to bottles, put some water in the vase, ready for the flowers to go into it. And I textured possibly the most detailed asset in my entire scene, which was the golden syrup can. I decided to hand-paint this asset as I wanted it to have a similar hand drawn look to the original. I referenced the design of the artwork from the film a real golden syrup can for the angles I couldn't see in the film.
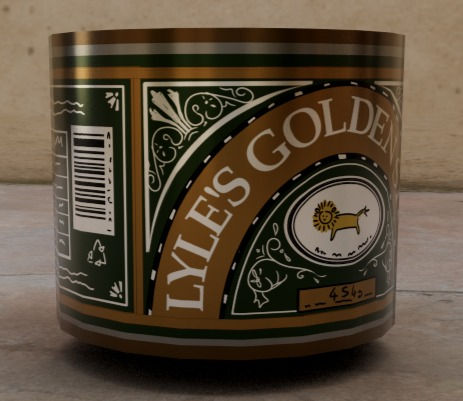
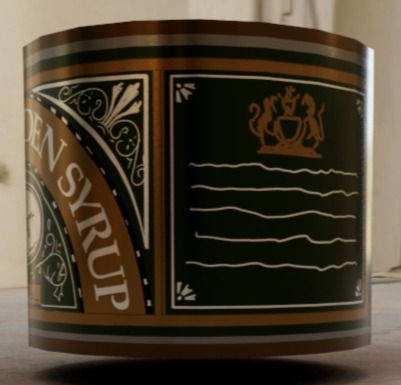
For the golden syrup can, I drew the cover for the can digitally, and put the image in a fill layer on the object in substance painter, I then added a metal sheen underneath to make it look like a can.

Reference from the film:

Next I added in the centre piece of the room:

Which is of course, this sheep:
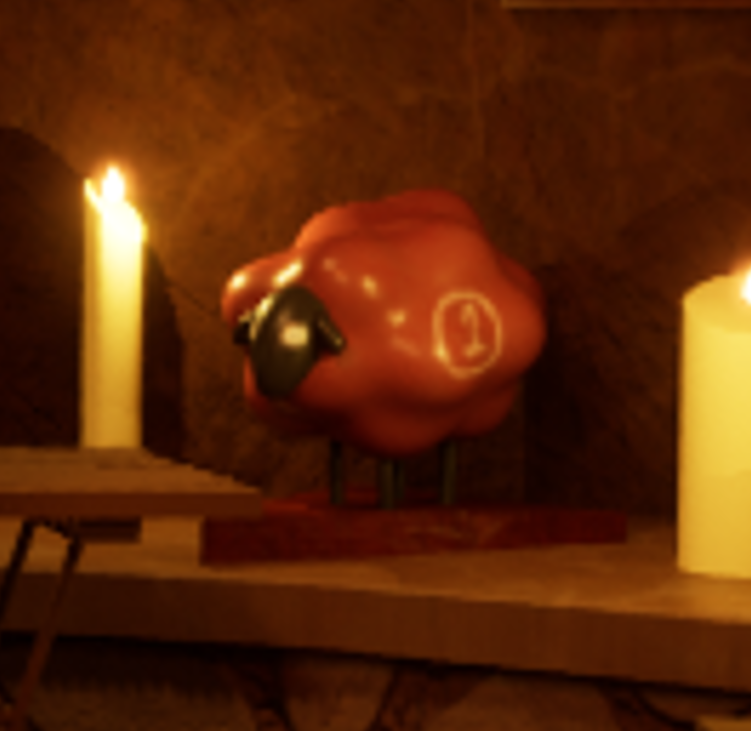

I modelled the body and head of the sheep in Zbrush and brought it over to Maya to add in the triangular platform and the legs. I then brought it into substance to texture:
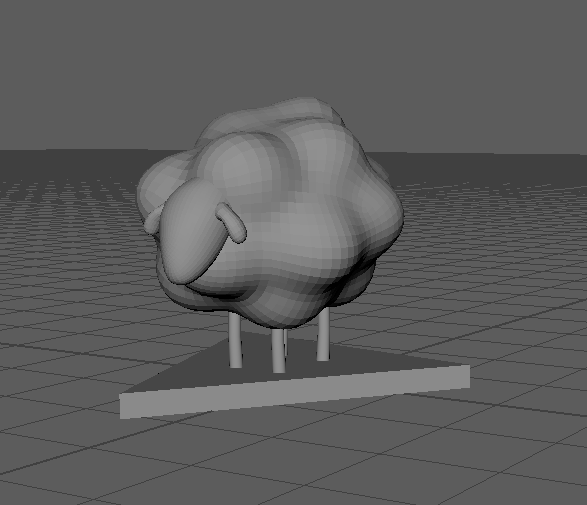
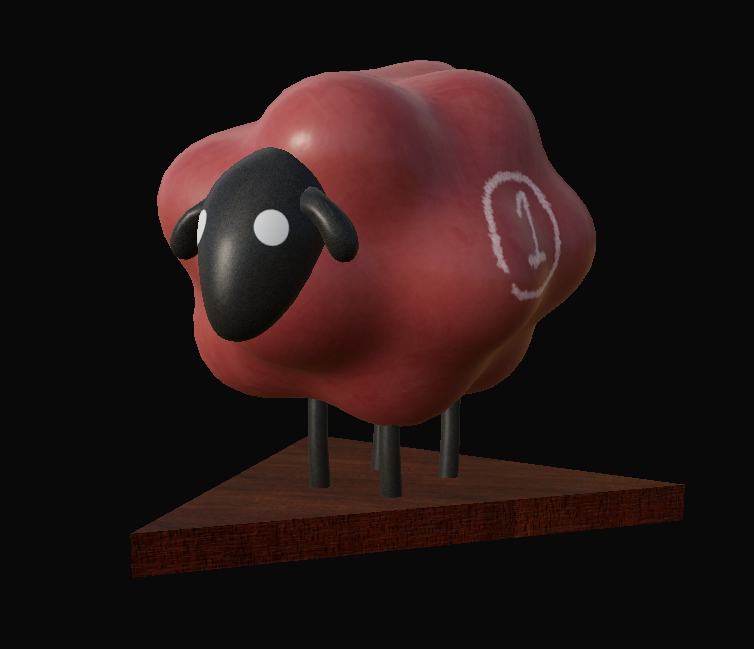
I also edited the lighting behind the tree roots, which I continued to change around, so that the wall and items behind had better visibility.

As well as this, I changed the side bench texture. I changed the top surface to a more polished material type, I also decided I wanted a slightly more distinct difference between the floor and bench cobble designs. I decided to give the soil in the cracks a more rough texture, as though it was filled with rocks and hard soil for contrast, and after this change I decided I was content with the texture.

At this point I began to add some textures to the last few objects that had been left untextured. I manually textured the objects in substance to give each object distinct details, however a number of the details were too small to see from afar, such as the wood detail and dust on the sunglasses.
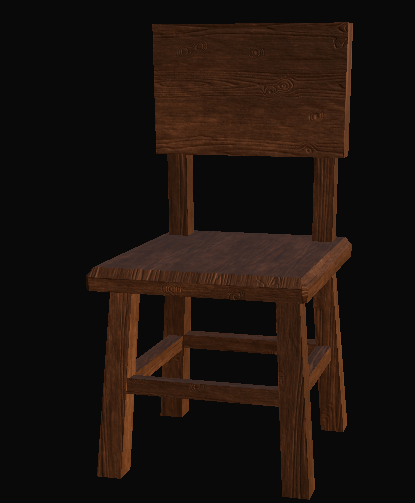
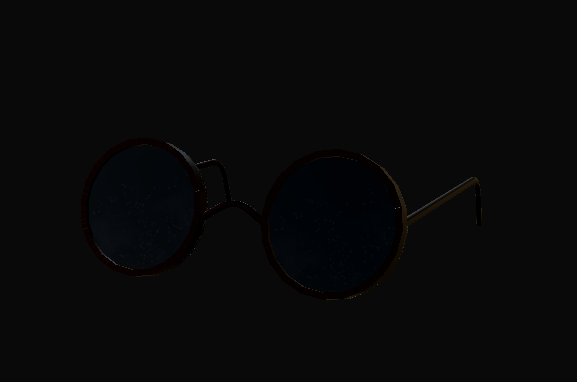
I was happy with how the shell came out, although it ended up looking more like a fossil, the original artwork lacked detail however, so I used my imagination to fill in the gaps whilst converting it into a more realistic piece.

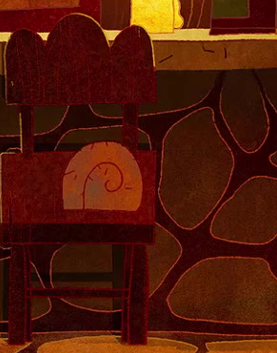
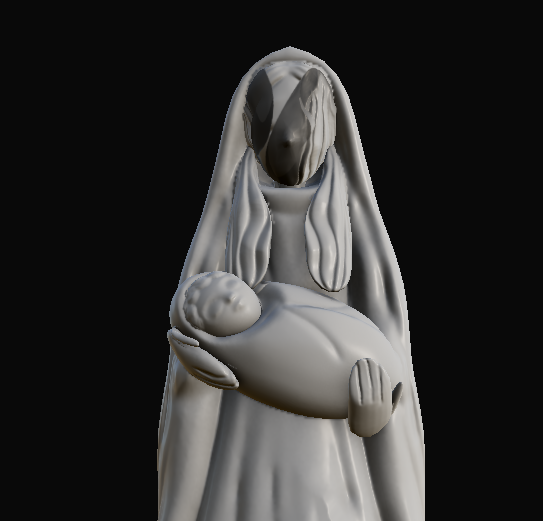
I textured the bowls to look like red ceramic as in the reference, and the green fruit in them I textured to look like green tangerines in substance painter. I also sculpted and textured the second variation of the Mary statue that is holding a baby.

There were a number of issues with this smaller statue, the textures did not bake correctly when the parts were not seperated with a colour map, example of issue below: However when separated, most of the details imported well. The hair detail did not come through but I realised the smaller statue didn't have loose hair like the larger variation, so I removed it and there were no further issues with the bake. I wasn't pleased with the grey colour or flat look of the sculpt at this point however, so I intended to fix it later to match the reference more accurately.

I also added in the book asset, I chose to deviate from the blank pages in the reference as I wanted the asset to have more interest. The original artwork had blank pages, I believe to draw attention to the assets in front of it, as well as to save time. However, since I lacked the time to finish a number of the small set pieces in that area, I decided to add detail to the pages instead. I chose a page from the Book of Kells as a reference to the film "Secret of Kells", which is by the same people who made "Song of the sea". And since the book of Kells was written over 1000 years ago, the pages do not have copyright. I used a watercolour brush to create the tea stained-looking pages, and a fill layer generator to add a dust-like effect. I used a strand brush with height to create the illusion of pages.

The details I decided to leave out in this scene were: The burnt out matches, the beads on the statue, the unlit candle, and the small statue of Jesus. The unlit candle was not in any image other than this one, and the Jesus statue was too detailed for such a small asset that only appeared once in the scene.

Lastly, I got to work on the paintings, after my first painting of Mary, I decided that for the remaining pieces I would use photoshop to crop them from the original artwork. I decided it would be more efficient and it would allow me to recreate the colours in the scene accurately. This is the collection of paintings I cropped and duplicated around the room. In total I believe there are 88 paintings around the room.

Whilst putting up the paintings, attempting to exactly replicate the reference, I realised that as with objects in the room, certain paintings were different in frames. As well as this, the amount of paintings differed in each frame as well, so in certain places I would have to choose which frame I wanted to follow more accurately. For example, in these two frames, the large Mary statue on the right in the floor plan, has very few paintings around her head, whereas in the closeup the layout completely changes around her:


I made a couple of minor adjustments to the lighting, by adding a warm, orange spot light on the tree roots to make it a clearer centre piece, as well as accenting the shadows. As well as this, I added some green-tinted spotlights towards the large statues, to match the reference and to bring them out in contrast against the paintings behind.


Comments